创建package
首先需要使用命令行创建 package flutter create --template=package PACKAGENAME
这行命令会创建一个名为PACKAGENAME的package项目,其中包含如下文件。
pubspec.yaml 包含了package所有元信息的文件,通过配置其中的参数对package进行信息设置。例如 name、description、version、homepage、author(已经废弃)。
LICENSE 一个空文件,需要填写授权内容。
CHANGELOG.md 跟踪记录版本变化的markdown文件。
README.md 对package做介绍的markdown文件。
编写执行代码
在lib/main.dart文件编写实现代码
step 3 准备上传pub 添加License并修改pubspec.yaml 参考 选择软件协议 常用的是MIT LICENSE这个文件中不能有TODO,也不能为空,可找个flutter库看看别人是怎么写的
完善pubspec.yaml中name description version homepage。
执行 flutter pub pub publish –dry-run 对.yaml配置做检查,按照Suggestions提示做修改, 要改到没有warning才可以。
Package has 0 warnings.
国内用这个flutter packages pub publish报错
Authentication is required, please add
authorizationheader. Authentication failed! pub finished with exit code 65
需用执行flutter pub publish --server=https://pub.dartlang.org 发布。
1
2
3
4
5
6
7
8
9
Do you want to publish knight_toast_plugin 0.0.1 to https://pub.dev (y/N)?
 输入 y

Pub needs your authorization to upload packages on your behalf.
In a web browser, go to _https://accounts.google.com/o/oauth2/auth?access_type=offline&approval_prompt=force&response_type=code&client_id=818368855108-8grd2eg9tj9f38os6f1urbcvsq399u8n.apps.googleusercontent.com&redirect_uri=http%3A%2F%2Flocalhost%3A64306&code_challenge=p8b8Mh7ujv6LLpyVuqPQ6aZS_zZoh2EfoqsWa_L1ltg&code_challenge_method=S256&scope=openid+https%3A%2F%2Fwww.googleapis.com%2Fauth%2Fuserinfo.email_
Then click "Allow access".

Waiting for your authorization...
copy
` https://accounts.google.com/o/oauth2/auth?access_type=offline&approval_prompt=force&response_type=code&client_id=818368855108-8grd2eg9tj9f38os6f1urbcvsq399u8n.apps.googleusercontent.com&redirect_uri=http%3A%2F%2Flocalhost%3A64306&code_challenge=p8b8Mh7ujv6LLpyVuqPQ6aZS_zZoh2EfoqsWa_L1ltg&code_challenge_method=S256&scope=openid+https%3A%2F%2Fwww.googleapis.com%2Fauth%2Fuserinfo.email` 这个url 打开授权

控制台多了
Authorization received, processing...
一直卡住不动是因为还要设置终端代理
 我用的是clashX ,在控制台可以看到外部端口是9090,然后设置就OK
1
2
export https_proxy=https://127.0.0.1:9090
export https_proxy=http://127.0.0.1:9090
然后执行 curl google.com 验证

在发布package之前需要确认 ~/.bash_profile 中是否有 PUB_HOSTED_URL 与 FLUTTER_STORAGE_BASE_URL 这两个变量,如果存在是需要被注释掉的,不然会受到如下的错误提示:
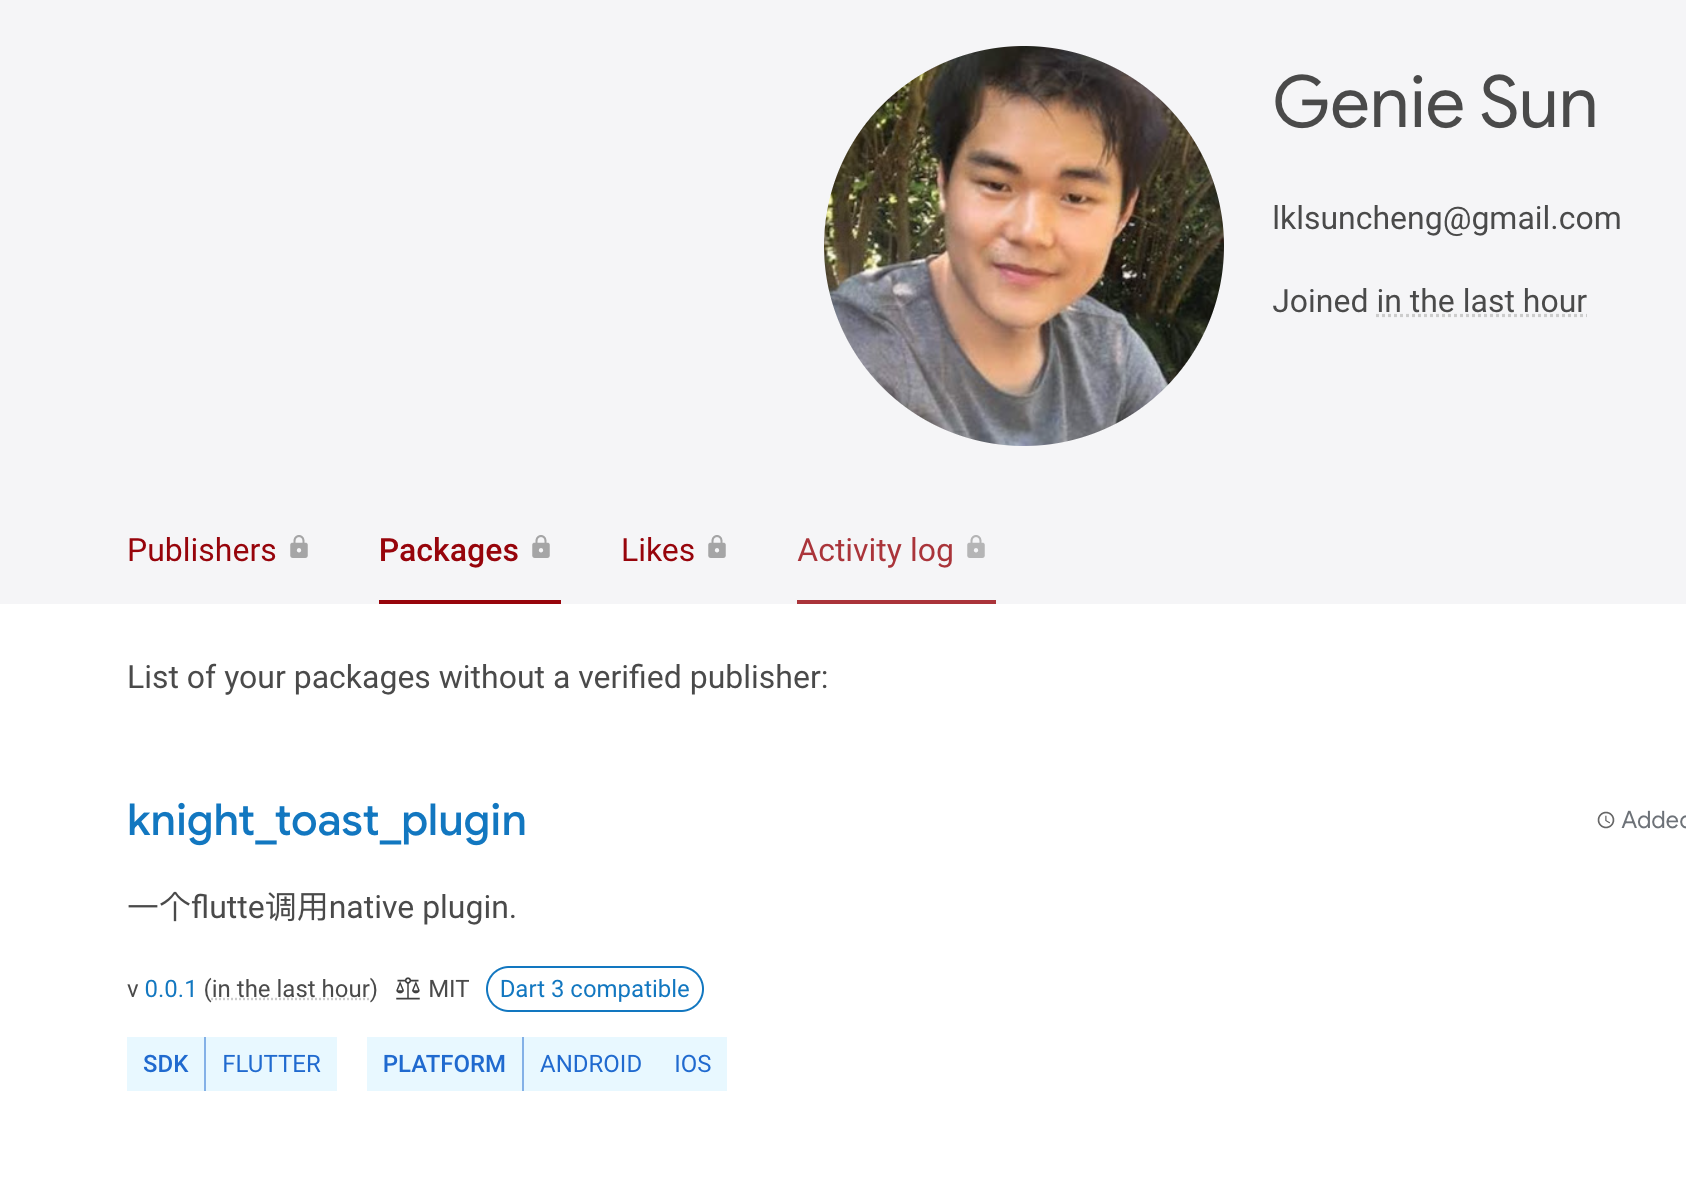
重写执行push,执行成功,可以在这里看到
